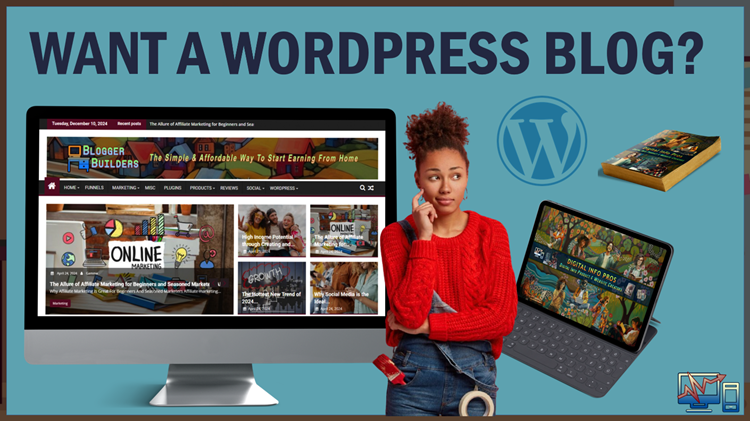
Would you like to learn digital skills and build a WordPress blog? WordPress blogs offer a fantastic way to make a positive impact online. In this article, we will walk you through 10 essential steps to help you get your WordPress blog up and running.
Would You Rather Watch The Video? Watch Below!
So, the very first thing that we need to figure out…
WORDPRESS BLOG STEP 1: YOUR NICHE MARKET
Step One is to identify your niche market. If you’re unfamiliar with the term, a niche market refers to the specific group of people you want to help, work with, and spend time around. Think about who you genuinely enjoy being around and who you want to serve through your business or blog. Defining this group will help you stay focused and motivated as you grow your brand.
It’s essential to enjoy the people you’re working with, or your business won’t be fulfilling. By clearly understanding your ideal audience, you can shape your messaging to attract the right people while naturally discouraging those who aren’t a good fit. The goal is to build a community that resonates with your values and interests, creating a positive experience for you and your audience.
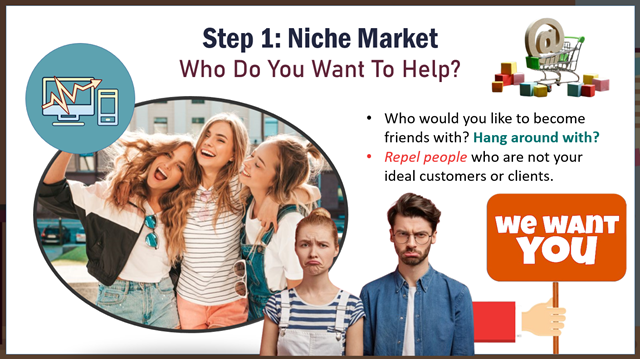
What do I mean by that? It’s not about being mean or purposely excluding people. It’s about finding the right fit for your business. You want to connect with people who genuinely resonate with your offer, verifying that your offerings match their wants and preferences.
For example, if you create a business selling products for dog owners, cat owners wouldn’t be your target market, and vice versa. If you focus on cat-related products, your ideal customers are cat owners, not dog owners. It’s not about disliking one group over another — it’s simply about directing your efforts where they make the most sense.
To build a successful business, you need to attract the right people who genuinely want what you offer. As one of my mentors once said, you must find a “starving crowd”—people actively seeking and eager to buy what you’re selling. Focusing on this audience will create a stronger connection and a more rewarding experience for you and your customers.
WORDPRESS BLOG STEP 2: WHAT PROBLEMS CAN YOU SOLVE?
The second step is to identify the problems you can solve. Think about the challenges you’ve already overcome and the skills or talents you’ve developed. Consider your education, experience, and unique abilities that could provide value to others. These are the solutions you can offer to help people facing similar issues.

It could be something related to the career you’ve built, where your knowledge and experience can be valuable to others. Or it’s something you learned in school that others would benefit from. Using the dog owner and cat owner example again, perhaps you’ve learned how to train dogs, and you could share that expertise with people who haven’t mastered it yet but are eager to learn.
WORDPRESS BLOG STEP 3: OUTLINE 5 – 8 MAIN TOPICS
Step three is to outline five to eight main topics for your blog. Start by deciding what your blog will focus on—what subjects you know well or are eager to learn more about. Your content should reflect your interests because even if you don’t feel like an expert, that’s fine. What matters most is your passion and willingness to explore the topics that excite you, as this will keep your content engaging and authentic.
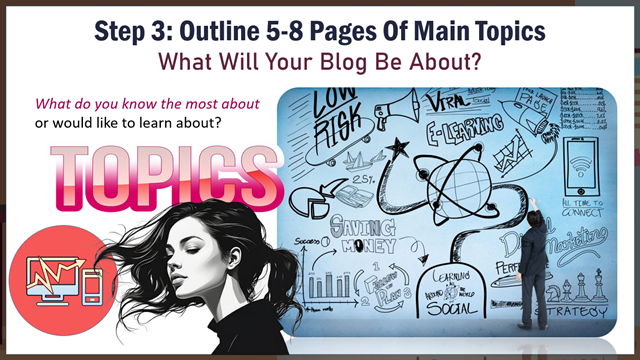
If you enjoy discussing a topic, learning more about it, and researching it, then it’s an excellent choice for your blog. Take a moment to reflect on what your blog will focus on and consider the key issues you want to address in your business. Identifying these core topics will help guide your material and ensure it remains valuable to your audience.
WORDPRESS BLOG STEP 4: DOMAIN NAME AND HOSTING SERVICE
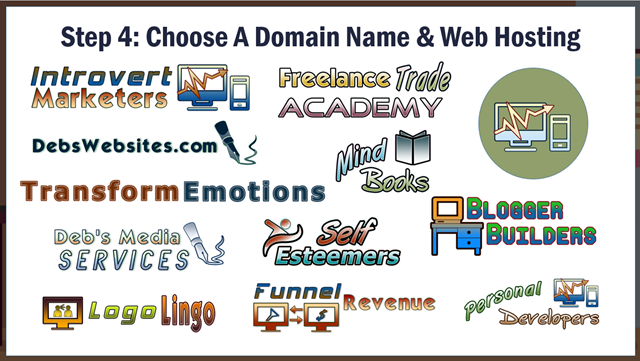
Step four is to select a domain name and a web hosting service. The image below shows examples of several domain names I’ve chosen to represent different projects over the years. Picking the right domain is essential because it becomes your blog’s unique online address.
When you search for a domain, you’ll likely notice that many people have already claimed the best names. However, there are creative ways to work around this challenge. I share tips and strategies in my community to help you develop a memorable, firm domain name that matches your brand identity.
After deciding on the domain name you want to use, the next step is to find a hosting service for your blog. While free blog hosting options are available, they have significant limitations that restrict your control and customization.
By choosing a paid web hosting service, you unlock far more features and flexibility for your blog. With a reliable hosting provider, you can customize your site, add advanced functionality, and create a more professional online presence without free platforms.
WORDPRESS BLOG STEP 5: THEME AND PLUGINS
In step five, you install WordPress after setting up your domain on your web hosting account. After the installation, you’ll want to add a theme and a few plugins to customize your blog. This process can seem overwhelming at first, but the reality is that you only need one good theme and a few essential plugins to create a fully functional blog capable of doing all kinds of cool things.
More straightforward blogs perform the best. While thousands of themes and plugins are available, it’s essential to choose a compelling theme that meets your needs and stick to a handful of straightforward plugins. Knowing which ones to use and having someone to guide you through that process can make all the difference.
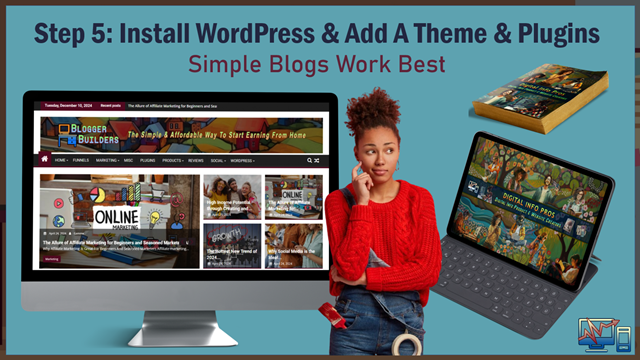
So, no one fully understands every theme and plugin available for WordPress. If someone claims they do, it’s doubtful because the sheer number of themes and plugins, each with unique features and functions, makes it impossible to master them all.
With thousands, you aim to find key plugins that help your blog perform at its best. You don’t need to know everything — you need the right tools to handle critical tasks and enhance your blog’s functionality in a way that suits your needs.
WORDPRESS BLOG STEP 6: DASHBOARD AND HEADER
Step six is all about customizing your WordPress dashboard after installing your theme and plugins. I recommend setting up your dashboard settings and adding a header across the top of your blog. I prefer using a theme with a banner at the top to make the site look more polished. After that, you’ll start adding your pages and posts to give your blog structure and content.
Simplifying Your Dashboard Settings
The dashboard settings are straightforward, and once you know where everything is, setting them up takes less than five minutes. To give your blog a unique look, you can create your own banner for the header. If you’re unsure how to do that, don’t worry—I provide step-by-step instructions in my community to help you design your banner quickly and easily.
In the picture below, you’ll see a woman pointing to the words at the banner’s bottom. Those words represent the pages of the blog, which help organize your content and make it easy for visitors to navigate.
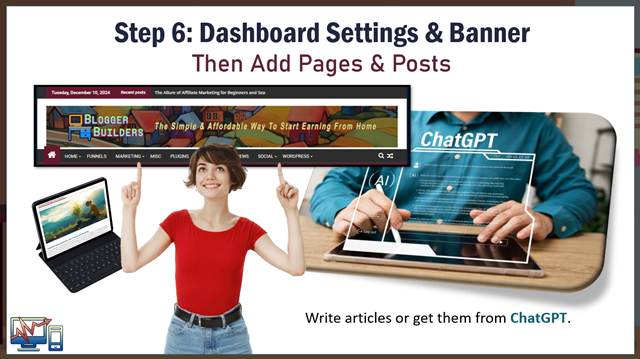
Those pages we discussed earlier are where you’ll organize your main topics. Your blog will also have a blogroll section where you’ll publish your posts. Pages hold your core information, while the blogroll showcases your regular articles and updates.
Within each post, you’ll include articles with carefully selected keywords to help attract the right audience to your business. Interestingly, it used to take me two to three weeks to build a complete blog. But now, thanks to tools like ChatGPT, I can create an entire blog in under two hours. The reason for this dramatic time-saving is the power of AI, which makes the process faster and more efficient.
That said, there are still a few essential steps to get it right. Ensure you polish your grammar, keep your content plagiarism-free, and place your keywords effectively to reach your target audience. These details are crucial for creating a successful blog, and I can walk you through them inside my community.
WORDPRESS BLOG STEP 7: ADD PHOTOS AND GRAPHICS
Add photos and graphics to your pages and posts to make them visually appealing. Adding images enhances the overall look of your blog and helps engage your audience. The most efficient approach is to work on one page and one post at a time, making sure each piece of content is refined and attractive before moving on to the next.

For example, you can start by adding an article to a page or post. Once your content is in place, enhance your blog’s appearance by adding photos and graphics to make it visually appealing. You can even include videos to engage your audience further. The process becomes easy and fast once you learn how to add these elements.”
Remember that your keywords are crucial in attracting the right audience to your blog through search engines. In addition to organic traffic, you can boost your blog’s visibility by driving visitors from social media platforms, increasing your reach and engagement.
WORDPRESS BLOG STEP 8: WIDGETS AND AFFILIATE PROGRAMS
After completing your pages and posts, the next step is to add side widgets to your blog. These widgets serve as helpful tools to guide visitors wherever you want them to go, making your blog more interactive and user-friendly.
You can use widgets to redirect people to affiliate programs, online communities, or master resell and private label rights programs. You can also link them directly to your products and courses. The key purpose of these widgets is to start monetizing your blog, allowing you to earn money from your content while providing value to your audience.
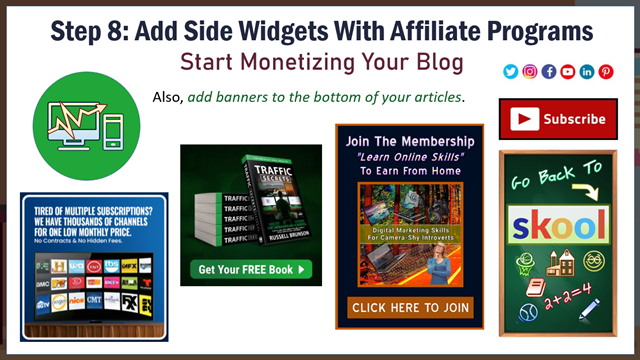
The best way to guide visitors to specific destinations is by using widgets on the side of your blog. You can also improve your blog by incorporating banners at the bottom of your pages or throughout your articles. Additionally, you can include hyperlinks within your articles that direct readers to pages where, if they complete a purchase, you can receive a commission — sometimes even a 100% commission.
In the top right section of your blog, you can place widgets that redirect visitors to your social media platforms. Whether you want to send them to your YouTube channel, Facebook page, Instagram profile, Pinterest boards, or X account, you can direct traffic to any platform you choose.
You’ll notice a banner at the bottom right of my blog that links to the SKOOL communities, where I run my online community. SKOOL is an excellent platform for building an online business and connecting with like-minded individuals in a structured and supportive environment.
WORDPRESS BLOG STEP 9: DISCLAIMER PAGES AND BACK UP
In step nine, after setting up your widgets and banners, it’s essential to add disclaimer pages and back up your blog. Disclaimer pages serve to keep your blog legally compliant, safeguard your business, and protect your customers or clients. These pages create transparency and set clear boundaries for how your blog operates.
For instance, a privacy policy page assures your customers and clients that you will keep their personal information secure and won’t share it with third parties. On the other hand, a terms and conditions page protects you by outlining your rights, such as holding others accountable if someone tries to copy or misuse your content.
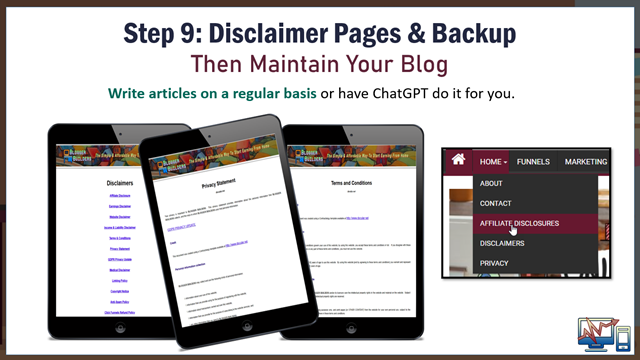
Disclaimers serve different purposes depending on their type, but adding them to your blog helps you stay compliant and avoid potential legal issues. After adding your disclaimers, you must back up your blog regularly to protect your content. Fortunately, you can complete this process efficiently by clicking a button to keep your content safe.
After that, your focus should be on creating content consistently. You can write articles or use tools like ChatGPT to generate rough drafts and speed up the process. The more frequently you publish articles, the more active your blog becomes, which improves its ranking on search engines. A higher search ranking increases your chances of attracting your ideal customers and growing your business.
WORDPRESS BLOG STEP 10: START PROMOTING YOUR BLOG
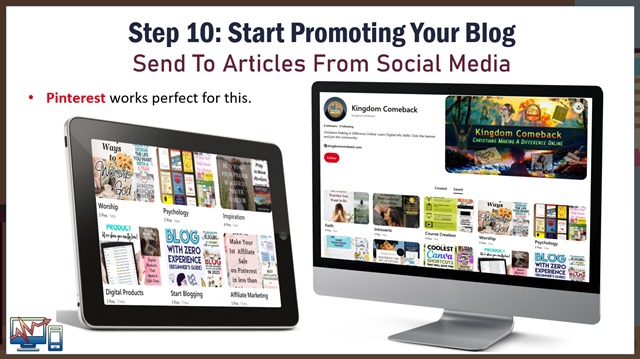
The final step, step number 10, is to start promoting your blog. One of the best ways to do this is through social media. By distributing your blog articles across multiple channels, you can direct people to your articles and increase your blog’s visibility. Pinterest is especially effective for this purpose, as it pairs perfectly with blogs. Many bloggers rely heavily on Pinterest to promote content and drive consistent traffic.
Other Ways To Bring Traffic To Your Blog
However, social media isn’t the only way to bring visitors to your blog. You can use all major platforms to share your content and submit articles to directories. At the end of those articles, include a link redirecting readers to your blog, giving them an easy path to explore more of your content.
You can use any method that drives traffic to your business to promote your blog. And with that, we’ve covered the 10 essential steps to starting a WordPress blog.
I hope you found this article helpful and inspiring. Now that you’ve read through the steps to building your WordPress blog, I want to extend a personal invitation for you to join my online community. In this space, you’ll gain access to step-by-step tutorials and valuable resources. These resources will walk you through the complete process of creating and expanding your blog. What I share in this community comes from years of experience, and I’d love for you to benefit from everything I’ve learned.
We’ll dive into various topics inside the community, including digital info products, freelance work, affiliate marketing, graphic design, website creation, and WordPress. You’ll also learn about tools like ClickFunnels and strategies for online marketing, social media content creation, and sales psychology. We cover persuasion techniques and much more to help you build a thriving online business.
I’m making these courses and resources available to you, and there are even ways you can access them for free. If you’re serious about learning these skills and want to fast-track your progress with proven methods, select the banner below to become part of the community today.
I can’t wait to welcome you inside and get to know you better. Let’s work together to build your success story!

