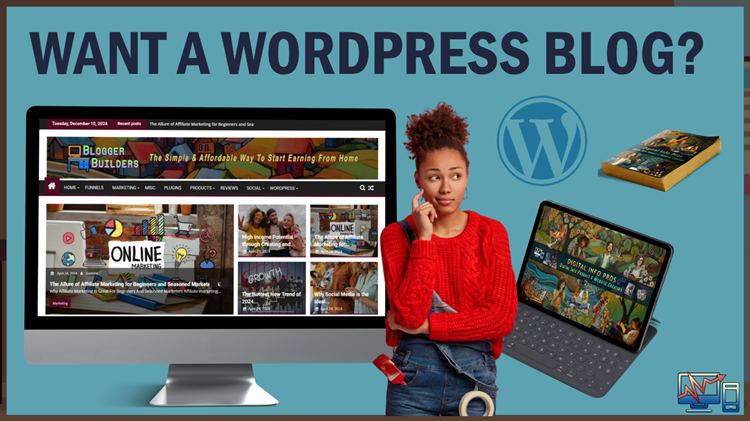
Let me ask you a question: would you like to learn some digital skills and start your blog? Because WordPress blogs are a great way to make a positive difference online. In this article, we will talk about 10 steps to starting your WordPress blog.
Watch this demonstration video and read below to learn more…
So, the very first thing that we need to figure out…
STEP ONE: YOUR NICHE MARKET
Step One is who is going to be your niche market? In case you don’t know, that is a marketing buzzword, and what it means is… Who exactly do you want to help? Who do you want to work with? Who would you like to hang around with? And who do you want to be friends with?
Because if you don’t like the people you’re helping and working with, you won’t have an enjoyable business, right? So, it’s essential to figure out who you like to hang around with and who you would like to help… Your messaging needs to convey precisely that: not only do you want to attract the ideal people into your business, but at the same time, you want to repel people who are not your ideal customers or clients.

So, what do I mean by that? I don’t want it to sound like you’re trying to be mean and not include certain people because that is not what it’s about! What it is about is finding the right fit for your business.
So, say, for example, that you decided you wanted to work with dog owners and sell products for dogs. A cat owner would not be a good fit for your business, and vice versa! If you were selling products for cat owners, then dog owners would not be a good fit for your business. 
It doesn’t mean that you don’t like dog owners or you don’t like cat owners!
It simply means you must attract the right people into your business. One of my mentors once mentioned that it also means you need to find a starving crowd. You need to find the people hungry for whatever you have to offer.
STEP TWO: WHAT PROBLEMS CAN YOU SOLVE?
The second step is… what problems can you solve? What have you already solved in your life? What skills do you have? What talents do you have? What education do you have that you could share with others?

Maybe it has to do with the career that you’ve had all your life. Perhaps you can take your knowledge from that and share it with others. Or maybe it is something that you learned in school. Or, if we use the dog owner and the cat owner example again, maybe you have learned how to train dogs, and perhaps you can share that with people who haven’t learned that yet and who want to know that.
STEP THREE: OUTLINE 5 – 8 MAIN TOPICS
Step three is… the next thing you must do is outline five to eight pages of main topics to put on your blog. So, what exactly is your blog going to be about? What do you know the most about, or what would you like to learn about? Because if you’re interested in it, even if you don’t already feel like an expert, that’s okay.
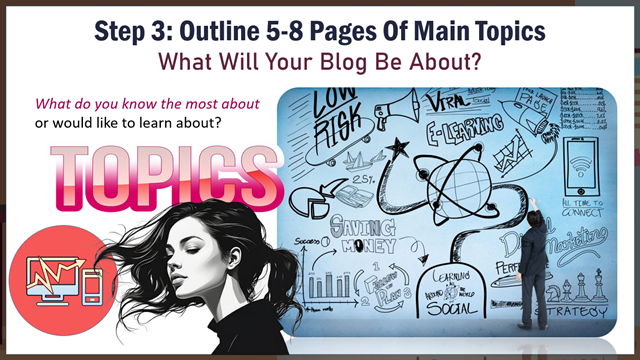
If you don’t mind talking about it, learning about it, and researching it, it is an excellent topic for your blog. So, what you do here is you stop and think… What are the main issues that you’re going to be covering in your business?
STEP FOUR: CHOOSE A DOMAIN NAME AND WEB HOSTING SERVICE
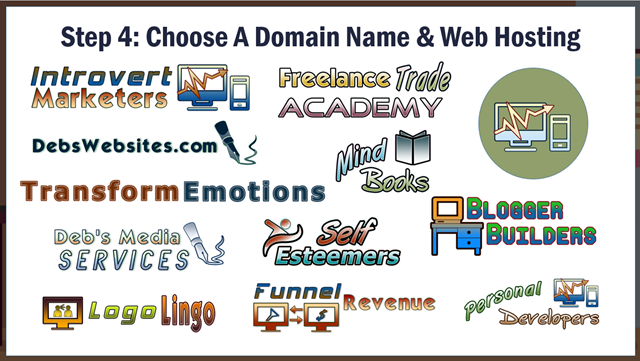
Step four is to choose a domain name and a web hosting service. So, in this image below, you’ll see several of the domain names I have used throughout the years that I have chosen.
So, you find a domain service and start searching for domains. And you’re going to find out that many good domains are taken. But there are some great ways to get around that, and I can share them with you inside my community.
Once you figure out the domain name you want to use, you must have a place to host your blog. There are free blog hosting services, but the problem is that you are limited in what you can do with your blog.
But if you put your blog on a web hosting site, you have many more superb options you can do with your blog that you otherwise would not be able to do.
STEP FIVE: INSTALL WORDPRESS AND ADD A THEME AND PLUGINS
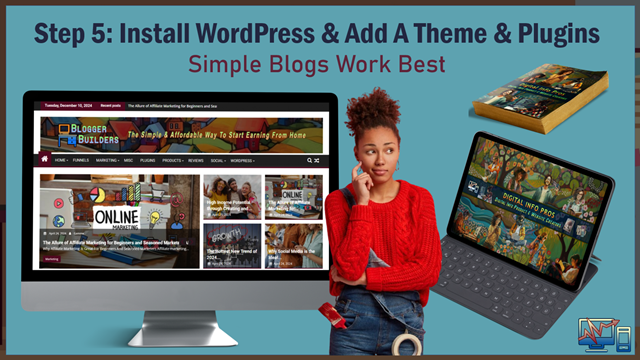
In step five, once you have your domain name on your web hosting account, it is time to install WordPress. After that, add a theme and some plugins. Now, this makes WordPress seem confusing to people, but the truth is, you only need one theme and just a few plugins to have a great blog that can do all kinds of cool things.
And as a matter of fact, simple blogs work the best. Now, you’ll find hundreds and even thousands of themes and plugins to choose from, but you need an effective theme that will do everything you need and just a handful of straightforward plugins. And you need somebody to show you what those plugins are.
Now, so that you know, nobody understands every single theme and plugin out there. And if for some reason they say that they do understand, well, I don’t think that’s possible…
Because there are thousands of them, they all have different features and perform other functions. And so you need a few that can handle the cool things you need to do to make your blog work at its best.
STEP SIX: SET UP YOUR DASHBOARD AND ADD A HEADER
Now, step number six… after installing your theme and plugins, you must set up your dashboard settings and put a header across the top. Or, at least, that’s what I do with the theme I like the most: to have a banner across the top. And then, you will add your pages and posts to your blog.
So, the dashboard settings are elementary; once you understand them, setting them up takes less than five minutes. As a header, you can design the banner yourself, and I can show you how you can do that in my community.
In the picture below, you see the lady pointing to the words across the bottom of that banner. Those are the pages.

Those are the main topics that we talked about earlier. So that’s where you put your pages, and then you will have a blogroll underneath. And that’s where you put your posts.
Inside your post, you will place your articles with keywords to help attract the right people into your business. And do you know that a few years ago, it used to take me two to three weeks to build a blog? And now, because of ChatGPT, I can create an entire blog in less than two hours. The reason for that is chat GPT. 
However, there are a few other things that you need to do and understand. For example, you need to be able to make sure that the grammar is correct. You need to make sure that there’s no plagiarism in your articles. You must ensure the keywords are correctly presented to attract the right people into your business. I can show you all of that inside my community, as well.
STEP SEVEN: ADD PHOTOS AND GRAPHICS
Once you have your pages and your posts on there, then that’s when you need to add photos and graphics to all those pages and posts to make them look attractive. And the best way to do it is to post one page and one post at a time.

So, for example, you write an article, put it on a page, or put it on a post. And that’s when you add your photos and graphics to dress up your blog and make it beautiful. You can also add videos, which make it even better. And it’s simple to do once you learn how to do that.
But remember, your keywords will attract the right people to your blog from the search engines. However, you can also drive traffic to your blog from social media platforms.
STEP EIGHT: ADD SIDE WIDGETS AND AFFILIATE PROGRAMS
So, once you have your pages and posts done, you want to add your side widgets. This can redirect people wherever you want them to go.
You can redirect them to affiliate programs. You can redirect them into a community. You can redirect them to master resell or private label rights programs. You can redirect them to your products and courses. But the point is you will start monetizing your blog, which means you will make it possible to earn money with your blog.
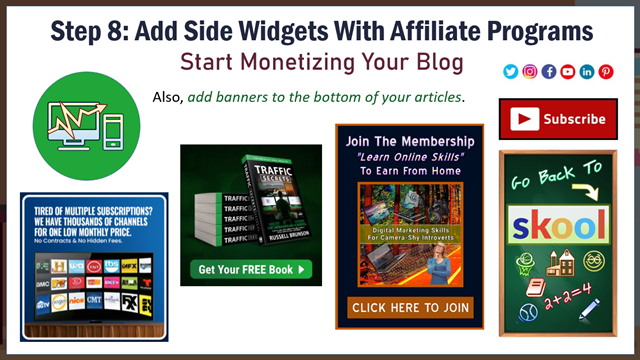
And the best way to do that is with widgets on the side of your blog. You can also add banners at the bottom and throughout your articles. You can put hyperlinks in your articles that will redirect people to pages where, if the person decides to purchase something, you can earn a commission. And sometimes, you can even earn 100% commission.
And if you look over there to the top right, you will notice that you can also redirect people to your social media platforms, wherever you want them to go. So, if you want to send people to a YouTube channel, you can do that. If you send them to Facebook, you can do that. You can send them to Instagram, Pinterest, X, or wherever you want them to go. 
And if you look at the bottom right, you’ll notice a banner I put on my blog to send people to the SKOOL communities, where I have my community. This is a great place to build a business online.
STEP NINE: ADD DISCLAIMER PAGES AND BACK UP YOUR BLOG
Now, in step number nine, after you get your widgets and your banners, you want to add some disclaimer pages and back up your blog. The purpose of disclaimer pages is to keep you compliant, protect yourself, and protect your customers and clients.
For example, a privacy policy will protect your customers and clients by reassuring them that you will not sell their information to a third party. But the terms and conditions will protect you and ensure that they can be held accountable if anybody ever steals your work.
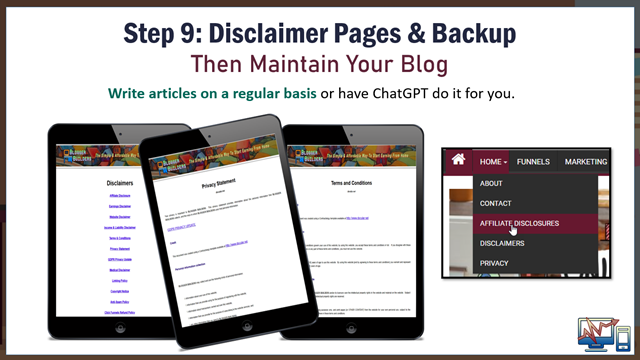
So, the disclaimers have different functions, depending on what that disclaimer is, but putting those disclaimers on your blog helps you to stay compliant and keeps you out of trouble. After that, you can back up your blog regularly, which is easy. All it takes is the click of a button.
All you must do is write articles regularly or have a chat. GPT give you a rough draft and help you out with that. And the more you post articles, the more active your blog becomes, and the higher it will rank in the search engines… And the better your chances of attracting your ideal customers and clients into your business are.
STEP TEN: START PROMOTING YOUR BLOG
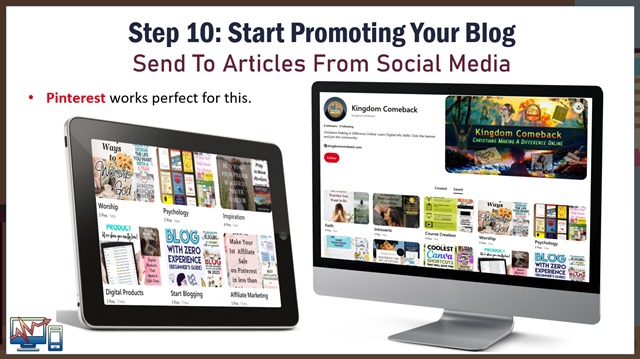
And finally, step number 10 is when you start promoting your blog. You can promote it on social media. In other words, you can send people to your articles from social media. And Pinterest is ideal for this. Pinterest and blogs go together so perfectly that most people who love promoting their blogs often do this on Pinterest.
But you can direct traffic to your blog in many other ways, too. All the social media platforms work well for this. You can also post articles in article directories, and then, at the end of the article, you can redirect them to your blog from there.
So, anywhere you can drive traffic to your business, you can send people to your blog. So, that’s it for this article about the 10 steps to starting a WordPress blog.
I hope you enjoyed this article. After reading this article, I want to give you a very special invitation to join my community, where you can find step-by-step tutorials on how you can start building your WordPress blog. I want to extend a very special invitation to you to join my online community, where you will find what I have spent many years learning about these topics. 
We will cover digital info products, freelance work, affiliate marketing, graphic design, website design, WordPress, Click Funnels and online marketing. Also, social media content marketing, sales psychology persuasion techniques, and so much more!
I’m going to make these courses available to you. There are even ways that you can gain access to them for free. So, if you want to benefit from what has taken me many years to learn, please click the banner below and join that community now.
I look forward to getting to know you on the inside!

